 I had a very good email question from a young man last week. He was incorporating the core lift, squat, into his lifting routine, but was having a difficult time maintaining an athletic posture and going down past parallel. He was a big man, over 6’ 3” tall. It is not uncommon for a big person to have these difficulties and usually they can be corrected. Tall people are at a bio-mechanical disadvantage when it comes to lifting weights. They have long levers, and have to move the weight a greater distance than a small, squatty body person. That is why it is important not to get caught up in the amount of weight that is being lifted, but rather correct technique and moving the weight through the full range of motion.
The root of this problem (not being able to go through the full range of motion) could be a number of reasons. It may be a lack of strength in the supporting trunk or hip girdle, or lack of flexibility in the hip girdle. Often we find that it is just having the kinesthetic awareness, of knowing what it feels like to correctly go through this motion; having correct posture, with head up and shoulders back and sitting back with their feet flat on the floor until their hips are below their knees. Sometimes when they actually feel what the correct motion is, they “get it”.
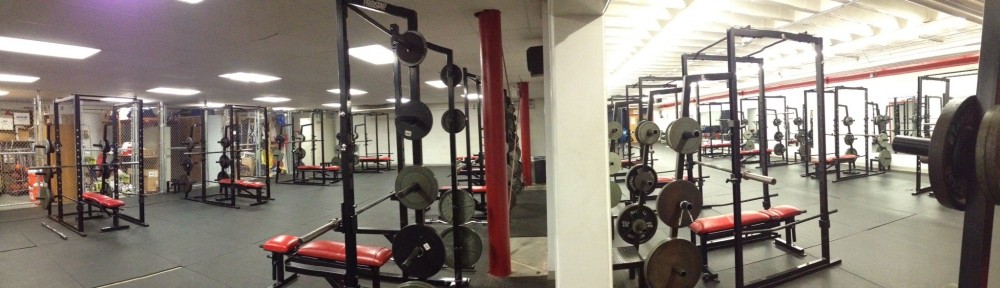
Here is a progression, with accompanying video that we use for our athletes that are having these problems. It will help develop strength, flexibility, and also give them a better kinesthetic awareness regarding correct body position.
Step 1 – Assisted Squat.
We have the student- athletes begin by doing sets of 8-10 reps with no weight or bar. We position them in the rack, grabbing the rack on each side with their hands slightly below their waist. They begin the squat , keeping good posture, shoulders back, big chest, assisting themselves by balancing and pulling slightly with the hands. We have the athletes continue this until they get a feel for the correct depth and full range of motion. This will also help with flexibility and strength.
Step 2 – Air Squats
Next, we progress to sets of “air squats” with no bar and their hands in front, again working on balance and flexibility.
Step 3 – Simulated Bar Squats
The next step is to do “air squats” with no bar, but the hands positioned outside of their shoulders where a bar would be. There can be a difference in balance from the preceding set, since the center of gravity has changed due to their hand and arm position.
Step 4 – Squats with the bar only.
Next, we progress the athletes to just doing sets with the bar only racked correctly across the back. The athlete should concentrate on posture, shoulders back, head up, feet flat, and not bending at the waist.
Step 5 – Begin adding weight.
When the athletes have mastered all of these steps, then (and only then) do we allow them to begin adding weight to the bar. We continue to stress correct form and full range of motion rather than the amount of weight they are doing.
Below is the video that demonstrates each of these 5 steps:
Using this progression, we have been able to improve the technique and range of motion of our athletes that were having difficulties with technique and form. A full description of the Core Lift Squat along with telestrated video can be found in this post – The Core Lifts – Squat
Tomorrow I will have some data for you regarding lb/lb ratios of our student-athletes
If you have any questions, just comment or email… either way, I will answer you!
Jeff Floyd – youcandomore1@yahoo.com
